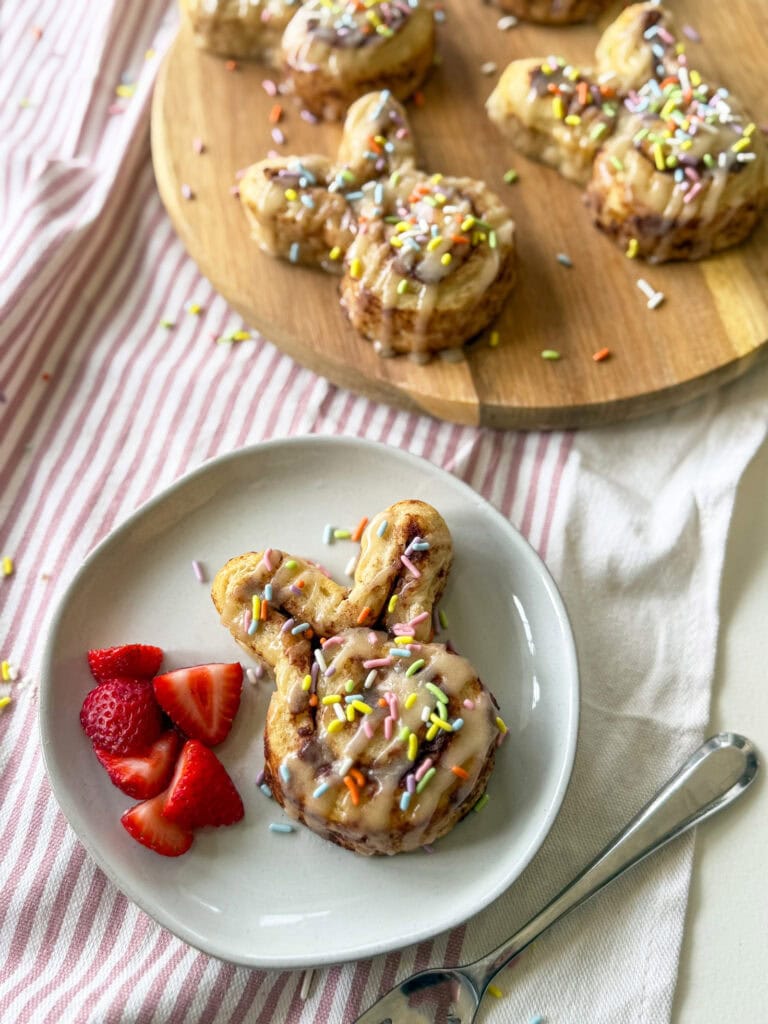
Easter Bunny Cinnamon Rolls


Transform store-bought cinnamon rolls into adorable Easter Bunny Cinnamon Rolls in minutes. These bunny-shaped treats are perfect for Easter brunch, or any time you want to add a touch of whimsy to your morning.
Why Kids and Adults Love Easter Bunny Cinnamon Rolls
With our hectic schedule, finding time to bake can be challenging. That’s why I am always trying to give you recipes that are quick, kid-friendly, and have a lasting impression on your family.
I love to celebrate each holiday by creating fun little treats for my girls, and if I can take a short-cut to save a little time, even better!
Here are a few reasons why you will love this recipe…
They are Quick: Using grocery store bought canned cinnamon rolls means less prep time.
Kid-Friendly: The fun shapes and pastel sprinkles make this a hit with the little ones.
Versatile: Perfect for breakfast, brunch, or a sweet snack.
Doubles as an Activity: Making these with your kiddos is a great way to involve your kids in the kitchen, fostering creativity and bonding.
How to Pick Out Store Bought Cinnamon Rolls
I have two brands that I recommend when it comes to store bought cinnamon rolls. Both of them bake nice and thick like a homemade roll would, and are not packed with artificial junk ingredients.
They also both come with a thicker icing which really gives the sprinkles something to stick to.
I recommend using either Annie’s Organic Cinnamon Rolls with Icing or Immaculate Organic Cinnamon Rolls.
Both brands are organic and non-GMO which I love. They also both come with 5 large rolls and a packet of premade icing.
In terms of taste, Annie’s is a little bit more sugary-sweet than the Immaculate brand is. Both are very good!
Ingredients and Tools Needed
- store bought refrigerated cinnamon rolls in can (like these or these)
- pastel colored or Easter shaped sprinkles (I like this brand or this brand which both natural dye)
- parchment paper
- toothpicks
- baking sheet
- butter knife

How to make Easter Cinnamon Rolls
Preheat oven to 350 degrees and line cookie sheet with parchment paper to prevent sticking and make cleanup easier.
Tear away paper label from the can of cinnamon roll. Use the edge of your butter knife to apply pressure at the seem of the cardboard until the can pops open.
Untwist can and pull rolls out one by one. Tip: I like to use the butter knife to slice the rolls apart cleanly so that they don’t stick together and tear apart.
Unroll the the cinnamon roll dough halfway, and lay it flat on the parchment paper. If there are large chunks of cinnamon coming loose from dough, wipe away and discard.
Keep half of the roll in tact to be the bunny’s head, and reform the loose half into two loops, and position them on top to form the bunny’s ears. Use your fingers to “pinch” the dough into slim looking ears and bend the tips a bit to get that “floppy” look,
Secure using a toothpick inserted from the top between the ears, and one on the side to secure the ears. This will help the bunnies hold shape while they bake.
Be sure to position the bunnies about 2-3 inches apart.


Refer to package instructions for bake time, but since the bunnies are no longer tightly rolled, they will bake faster. I find they are usually done in about 2/3rds of the time. The Annie’s and Immaculate brand both cook for 18 mins, so plan on baking for about 12 mins only.
At the half way point (6 mins into baking), pull the bunnies out of the oven, and reshape them a bit. The rolls tend to puff up while they bake, so pinch and reform the ears back into shape if need be. Rotate the pan so the the bunnies that were in the back are now in the front of oven, and place back in oven.


Bake for the remaining 6 minutes or until they are golden brown. Keep a close eye on them so they do not burn. TIP: If the bunnies have puffed up again, quickly reform them back into shape while they are still hot.
Using scissors, cut a corner of the icing packet and drizzle icing back and forth over the top of each roll. Top with pastel sprinkles and serve warm.


The question is whether you eat the ears first or last!
How to Store and Reheat Leftover Cinnamon Rolls
Place any leftovers in an airtight container (I use these glass ones) and store at room temperature for up to two days.
To reheat, warm the bunnies in the microwave for 10-15 seconds. They will taste like they did when they were freshly baked.
Variations
Give Bunnies Extra Personality: If you want to really turn this into a fun activity, give each kid the ability to decorate and personalize their own bunny. Try different colored sugar or sprinkles, mini chocolate chips for eyes and mini marshmallows for a cotton tail
Add a Flavor Twist: Add a touch of vanilla, lemon or almond extract to the icing for extra flavor.
What to Serve with Easter Bunny Cinnamon Rolls
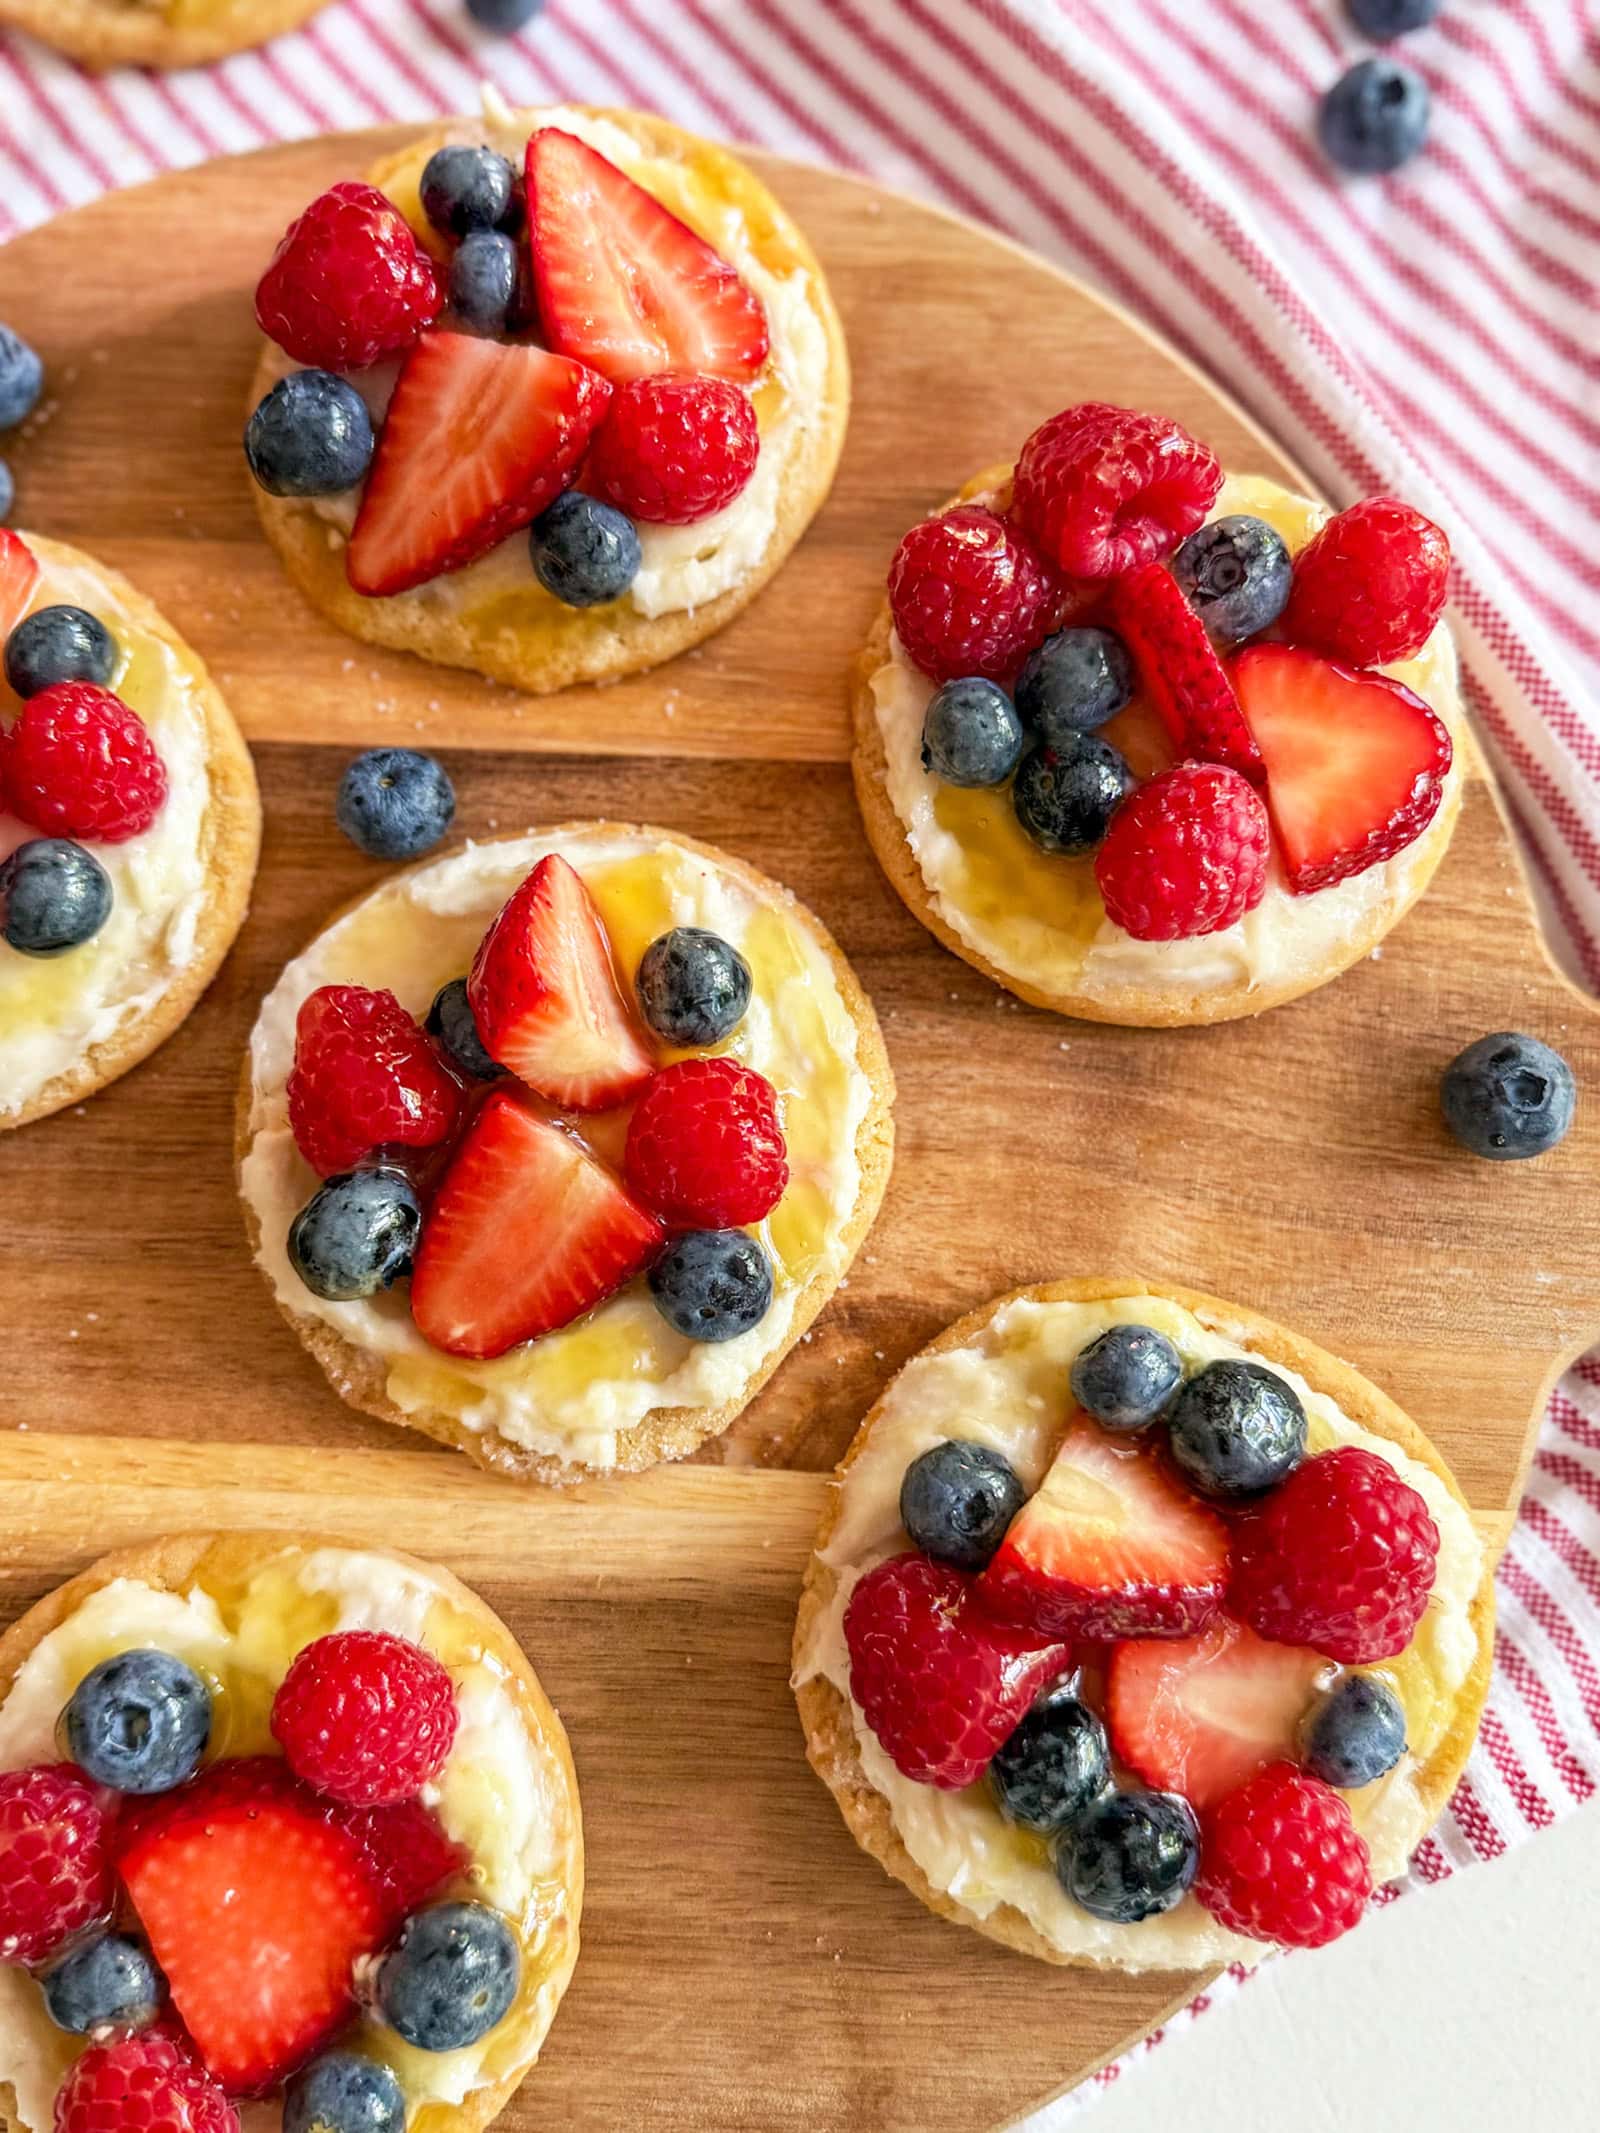
- fresh fruit like mixed berries
- yogurt parfaits with granola and a drizzle of honey
- Zucchini Quiche
- An egg bake or Breakfast Casserole
- bacon, ham or sausage

Please Leave a Rating and/or Review and Follow Along on Social Media
Once you have made this recipe, please leave me a star rating and/or review at the bottom of this blog post.
Sign up here to get new recipes sent straight to your inbox each week.
Follow along on social media for daily meal ideas, weekly meal planning and healthy food swaps: Instagram, Facebook and Pinterest
Don’t forget to pin this recipe for later! 📌
Check out our Esty store for funny food shirts, hats, mugs and more…
This post may contain affiliate links in which I could earn a small commission on qualifying purchases

Easter Bunny Cinnamon Rolls
Equipment
- parchment paper
- baking sheet
- butter knife
- toothpicks
Ingredients
- 1 tube refrigerated cinnamon rolls (like these or these)
- pastel sprinkles (I like this brand or this brand which both natural dye)
Instructions
- Preheat oven to 350 degrees and line cookie sheet with parchment paper to prevent sticking and make cleanup easier.
- Tear away paper label from the can of cinnamon rolls. Use the edge of your butter knife to apply pressure at the seem of the cardboard until the can pops open.
- Untwist can and pull rolls out one by one. Tip: I like to use the butter knife to slice the rolls apart cleanly so that they don't stick together and tear apart.
- Unroll the the cinnamon roll dough halfway, and lay it flat on the parchment paper. If there are large chunks of cinnamon coming loose from dough, wipe away and discard.
- Keep half of the roll in tact to be the bunny's head, and reform the loose half into two loops. Position them on top to form the bunny's ears. Use your fingers to "pinch" the dough into slim looking ears, and bend the tips a bit to get that "floppy" look,
- Secure using a toothpick inserted from the top between the ears, and one on the side to secure the ears. This will help the bunnies hold shape while they bake. Be sure to position the bunnies about 2-3 inches apart.
- Refer to the package instructions for bake time, but since the bunnies are no longer tightly rolled, they will bake faster. I find they are usually done in about 2/3rds of the time. The Annie’s and Immaculate brand both cook for 18 mins, so plan on baking for about 12 mins only.
- At the half way point (6 mins into baking), pull the bunnies out of the oven, and reshape them a bit. The rolls tend to puff up while they bake, so pinch and reform the ears back into shape if need be. Rotate the pan so the the bunnies that were in the back are now in the front of oven, and place back in oven.
- Bake for the remaining 6 minutes or until they are golden brown. Keep a close eye on them so they do not burn. TIP: If the bunnies have puffed up again, quickly reform them back into shape while they are still hot.
- Using scissors, cut a corner of the icing packet and drizzle icing back and forth over the top of each roll. Top with pastel sprinkles and serve warm.
Notes
- fresh fruit like mixed berries
- yogurt parfaits with granola and a drizzle of honey
- Zucchini Quiche
- An egg bake or Breakfast Casserole
- bacon, ham or sausage